Prepare S3
1. Create an HTML file to deploy to S3
- Replace
InvokeURL/resourceNamein the code below with your invoke URL.
<!DOCTYPE html>
<html lang="en">
<head>
<meta charset="UTF-8" />
<meta name="viewport" content="width=device-width, initial-scale=1.0"/>
<title>Chatbot - ChatGPT Style</title>
<style>
body {
margin: 0;
font-family: "Inter", "Segoe UI", sans-serif;
background-color: #f0f0f0;
display: flex;
flex-direction: column;
height: 100vh;
}
header {
background-color: #2e7d32; /* Green */
color: white;
padding: 1rem;
text-align: center;
font-weight: bold;
font-size: 1.2rem;
}
#chatBox {
flex: 1;
overflow-y: auto;
padding: 1.5rem;
display: flex;
flex-direction: column;
gap: 1rem;
}
/* ChatGPT-like message blocks */
.message {
width: 100%;
max-width: 800px;
margin: auto;
padding: 1rem;
border-radius: 10px;
font-size: 1rem;
line-height: 1.5;
border: 1px solid #ddd;
background-color: #ffffff;
}
.user {
background-color: #e8f5e9;
border-color: #c8e6c9;
}
.bot {
background-color: #ffffff;
border-color: #e0e0e0;
}
footer {
padding: 1rem;
background-color: #f7f7f8;
border-top: 1px solid #ddd;
display: flex;
justify-content: center;
}
.input-container {
width: 100%;
max-width: 800px;
display: flex;
gap: 0.5rem;
background: white;
border: 1px solid #ccc;
padding: 0.75rem;
border-radius: 12px;
box-shadow: 0 2px 4px rgba(0,0,0,0.1);
}
input {
flex: 1;
border: none;
outline: none;
font-size: 1rem;
background: none;
}
button {
background-color: #4caf50;
color: white;
border: none;
padding: 0.6rem 1rem;
font-size: 1rem;
border-radius: 8px;
cursor: pointer;
transition: 0.2s ease;
}
button:hover {
background-color: #449d48;
}
</style>
</head>
<body>
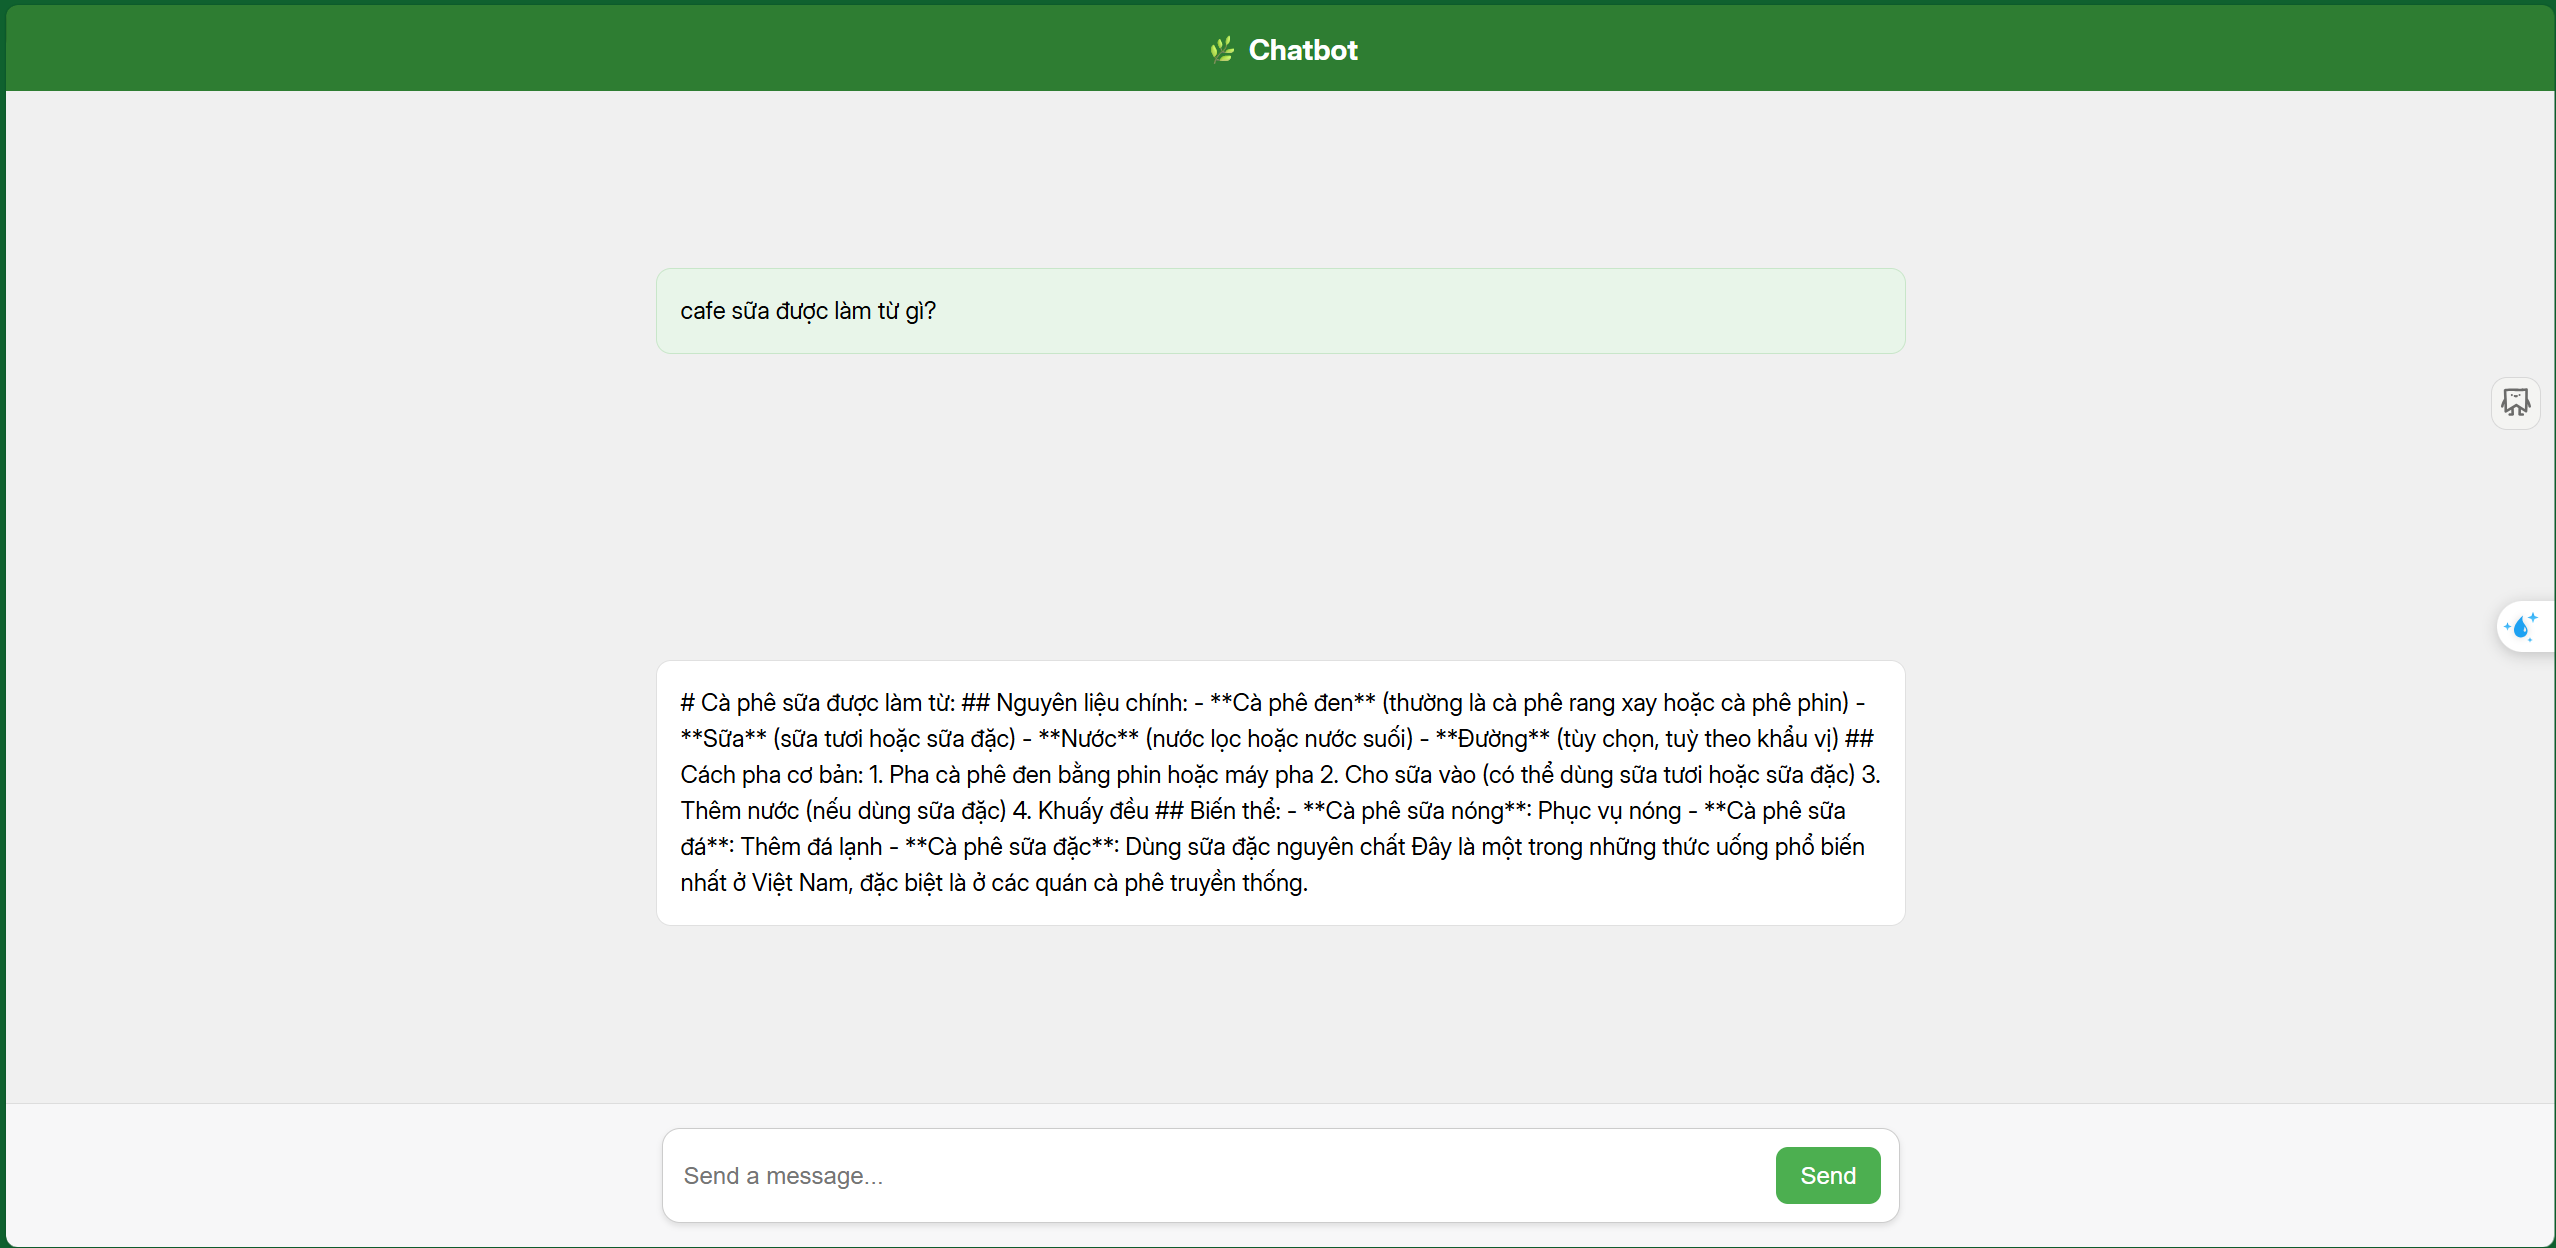
<header>🌿 Chatbot </header>
<div id="chatBox"></div>
<footer>
<div class="input-container">
<input type="text" id="userInput" placeholder="Send a message..." />
<button onclick="sendMessage()">Send</button>
</div>
</footer>
<script>
let history = [];
async function sendMessage() {
const userInput = document.getElementById("userInput");
const message = userInput.value.trim();
if (!message) return;
addMessage(message, "user");
const response = await fetch("InvokeURL/resourceName", {
method: "POST",
headers: { "Content-Type": "application/json" },
body: JSON.stringify({ message, history })
});
const data = await response.json();
const botReply = data.response;
addMessage(botReply, "bot");
history.push({ user: message, assistant: botReply });
userInput.value = "";
}
function addMessage(text, sender) {
const msg = document.createElement("div");
msg.classList.add("message", sender);
msg.textContent = text;
document.getElementById("chatBox").appendChild(msg);
msg.scrollIntoView({ behavior: "smooth" });
}
</script>
</body>
</html>
2. Go to S3
Click Create bucket
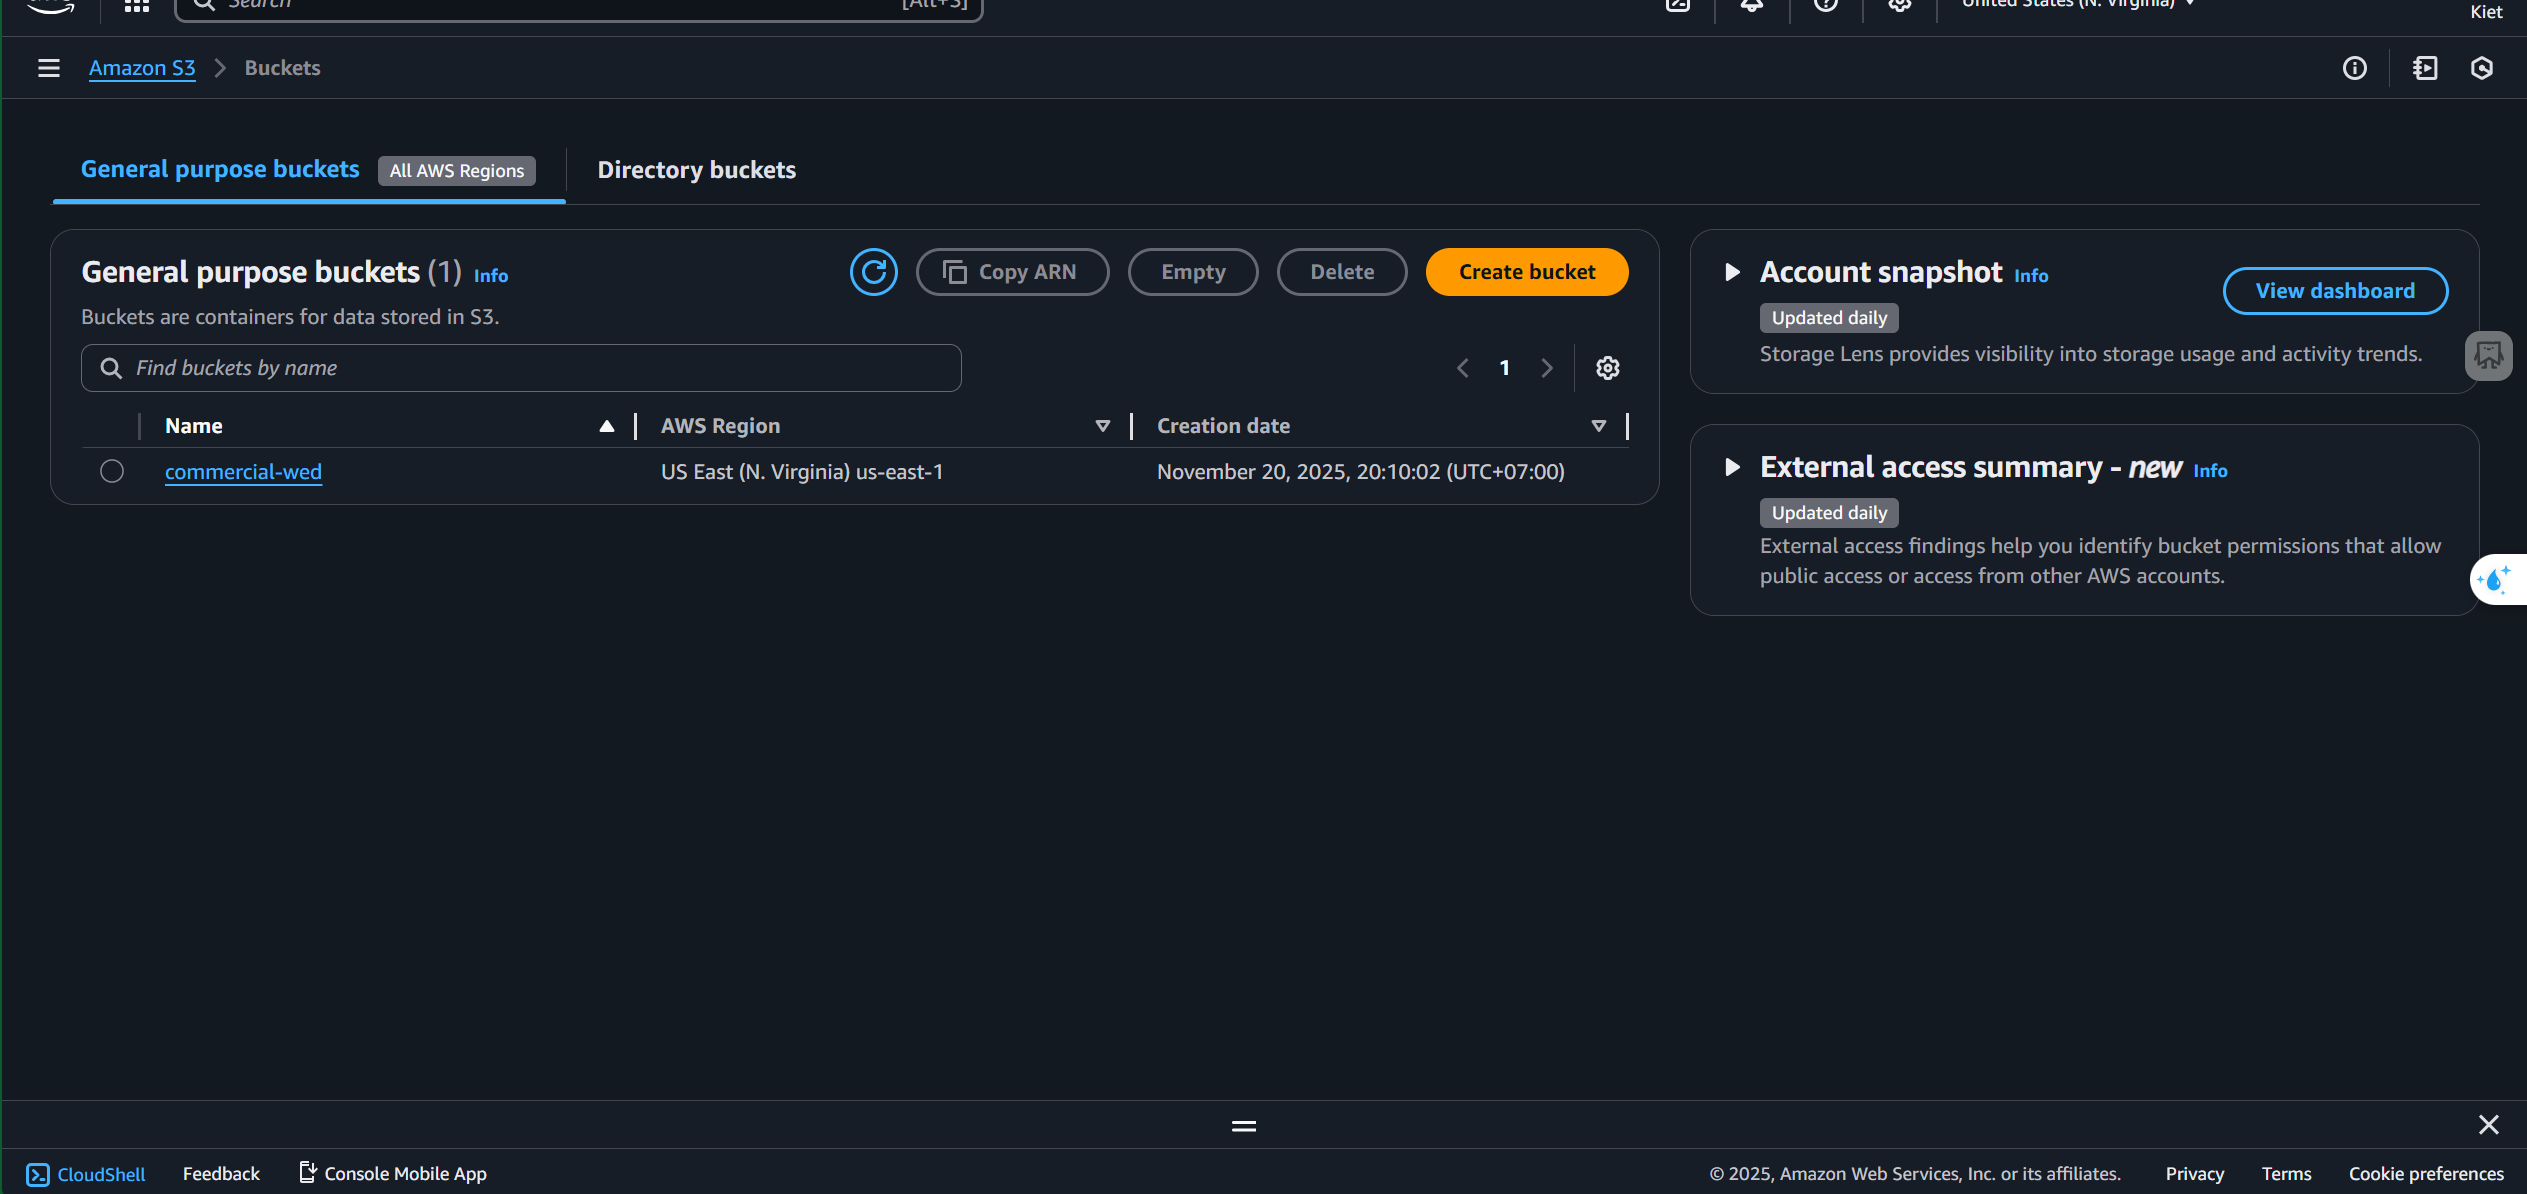
Enter a bucket name
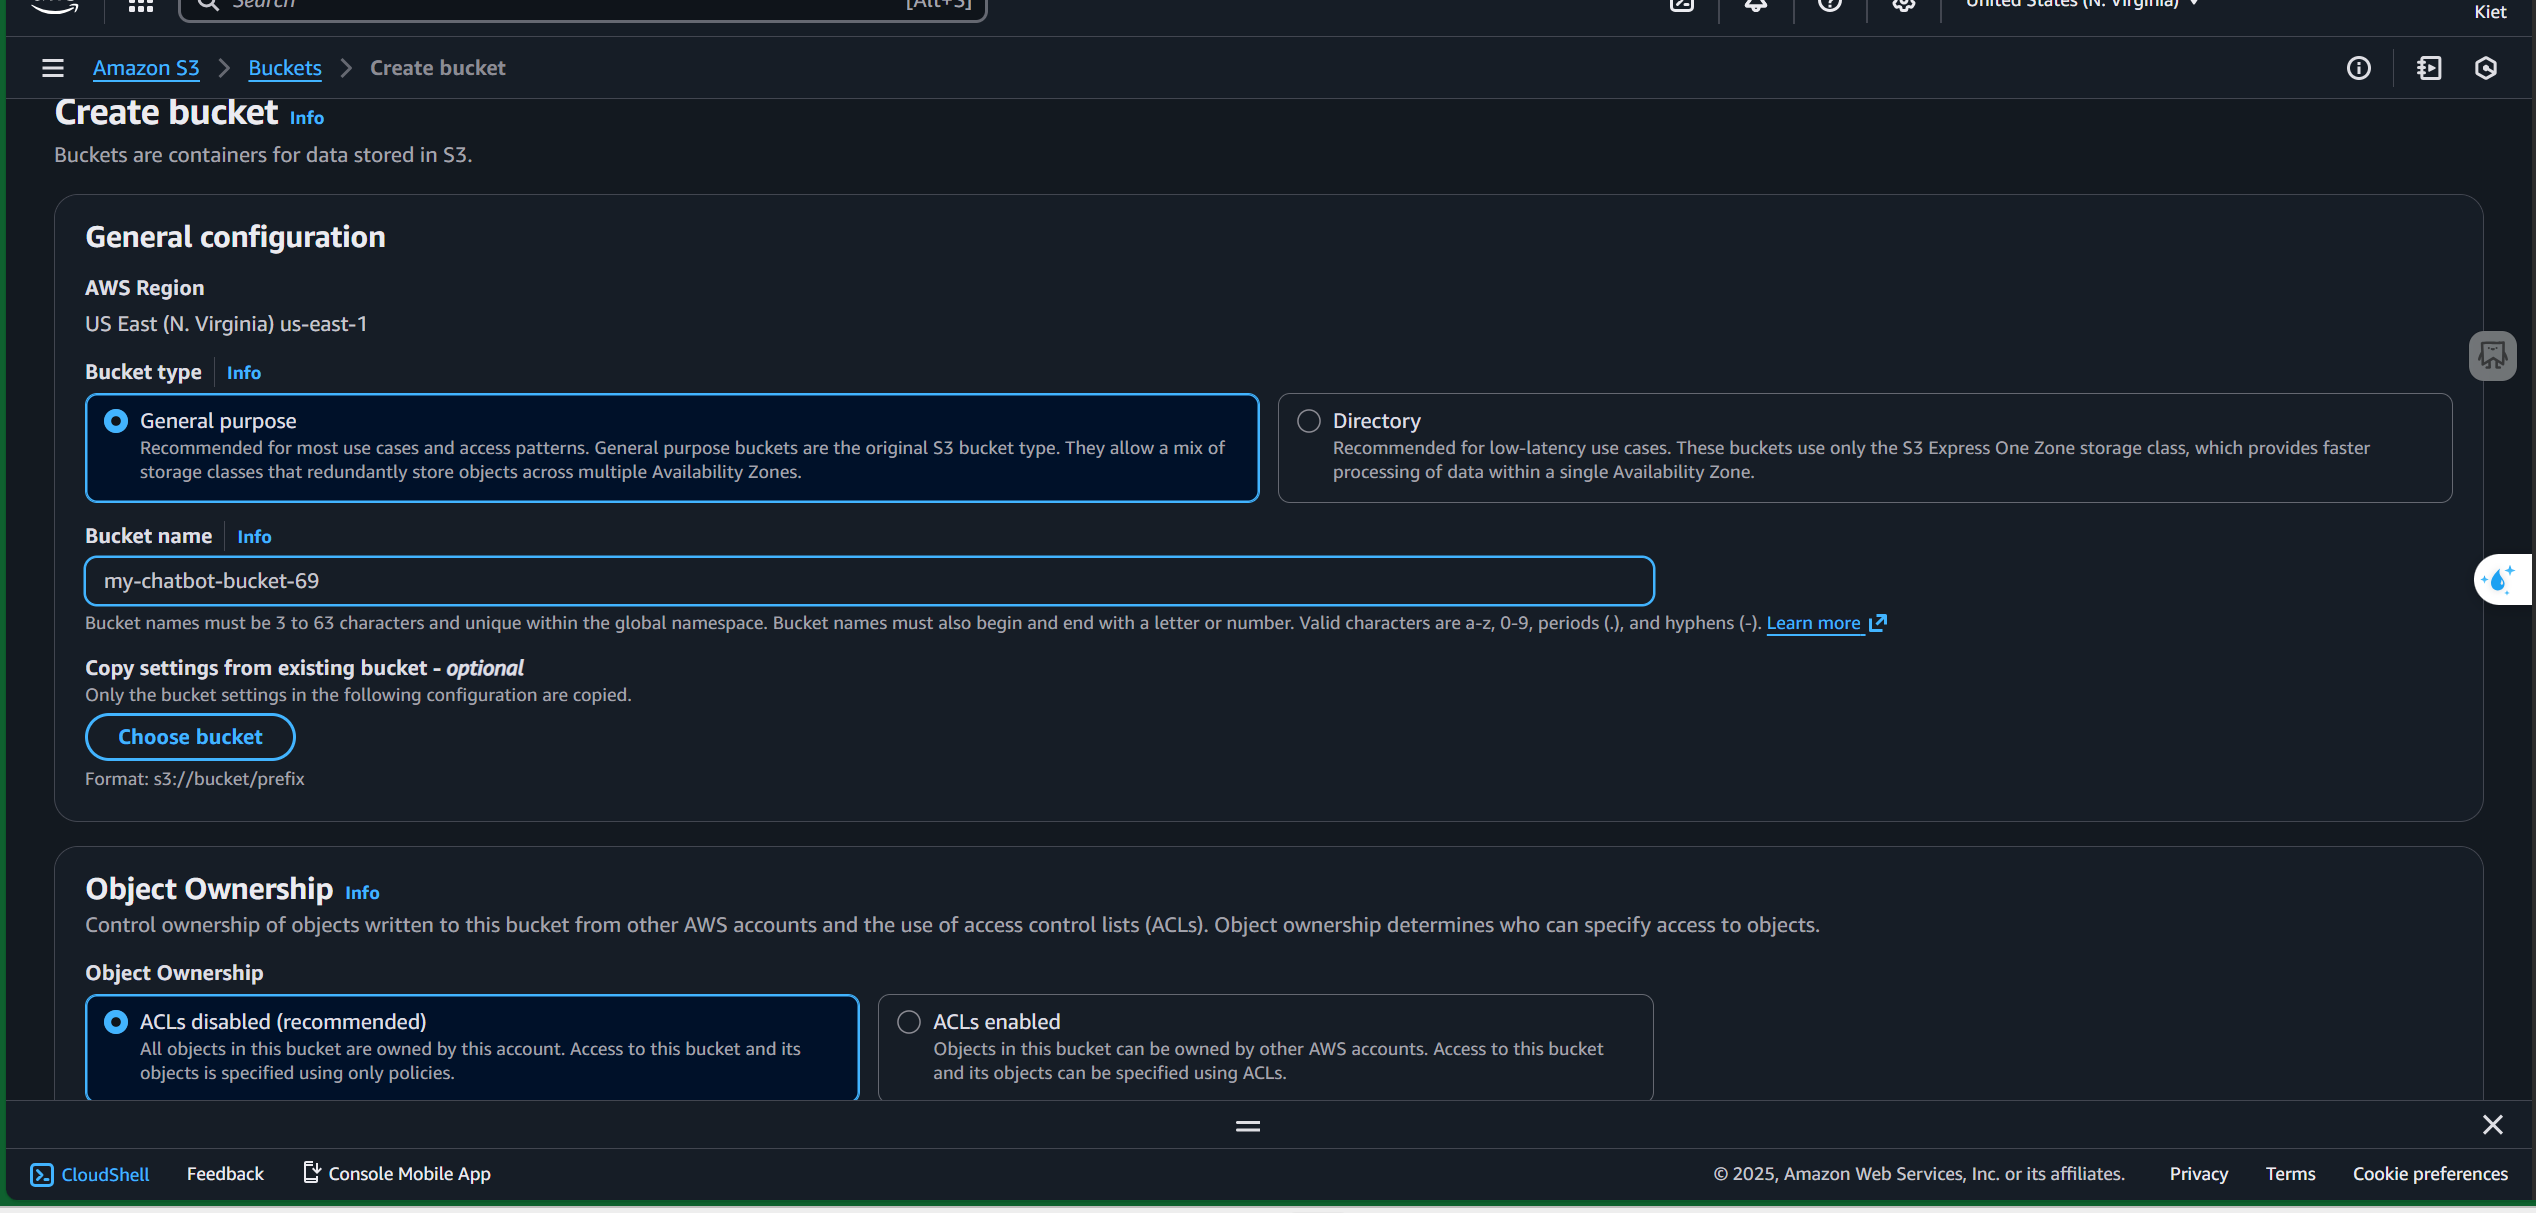
Disable Block public access
(While the best practice is keeping the bucket private, for this workshop we set it to public for easier testing.)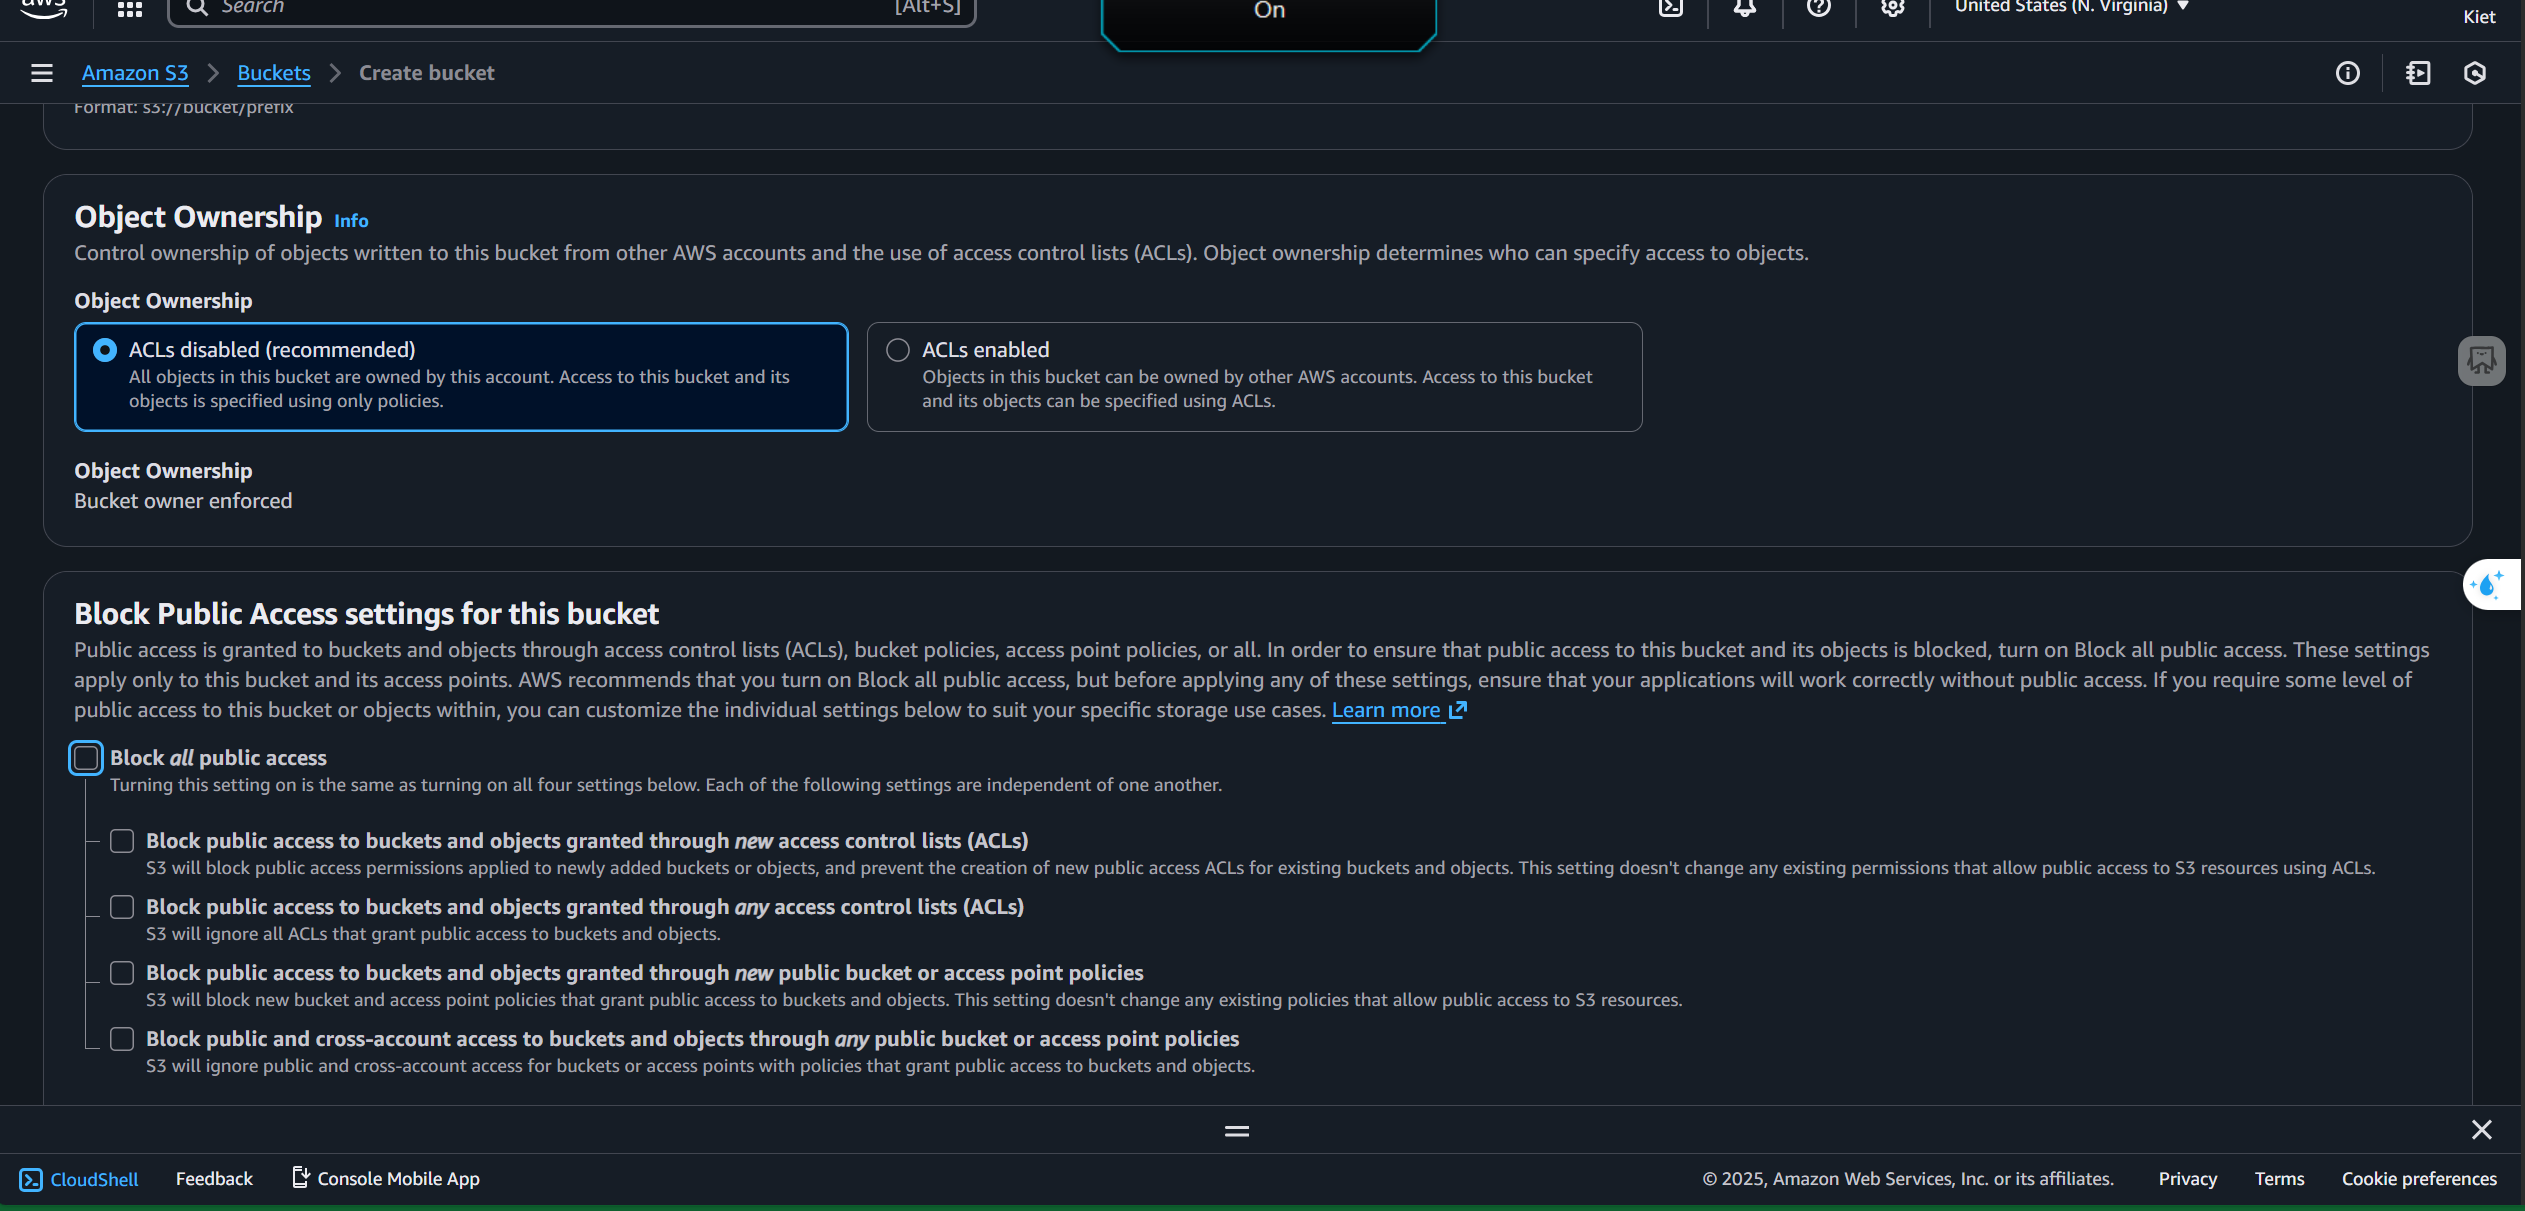
Click Create bucket
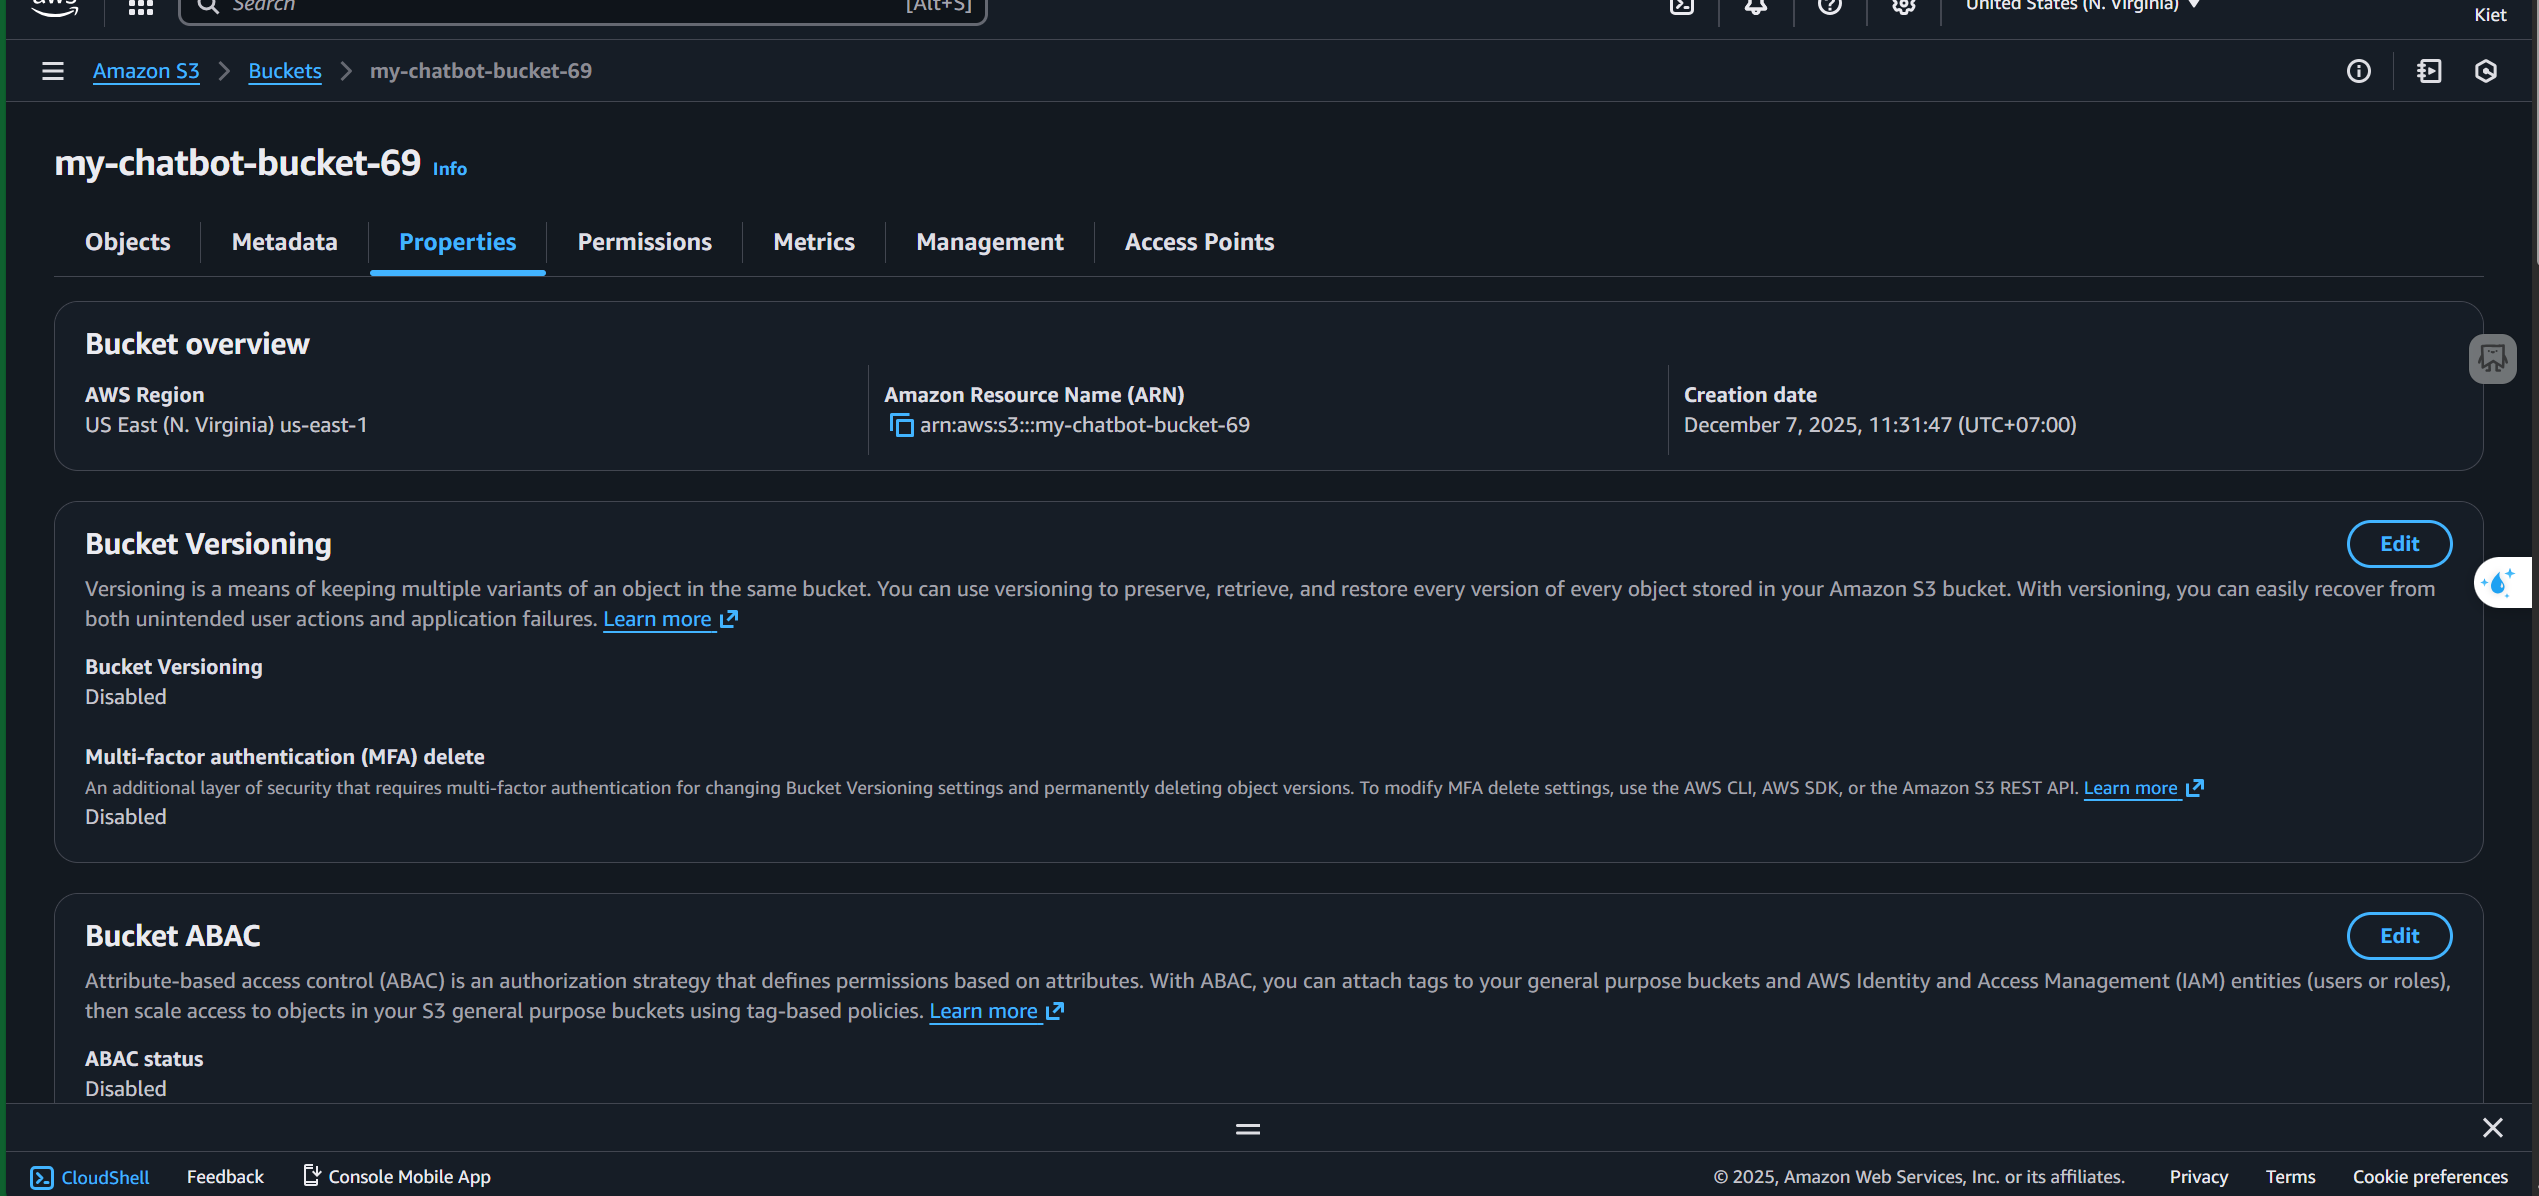
3. Open the bucket you just created
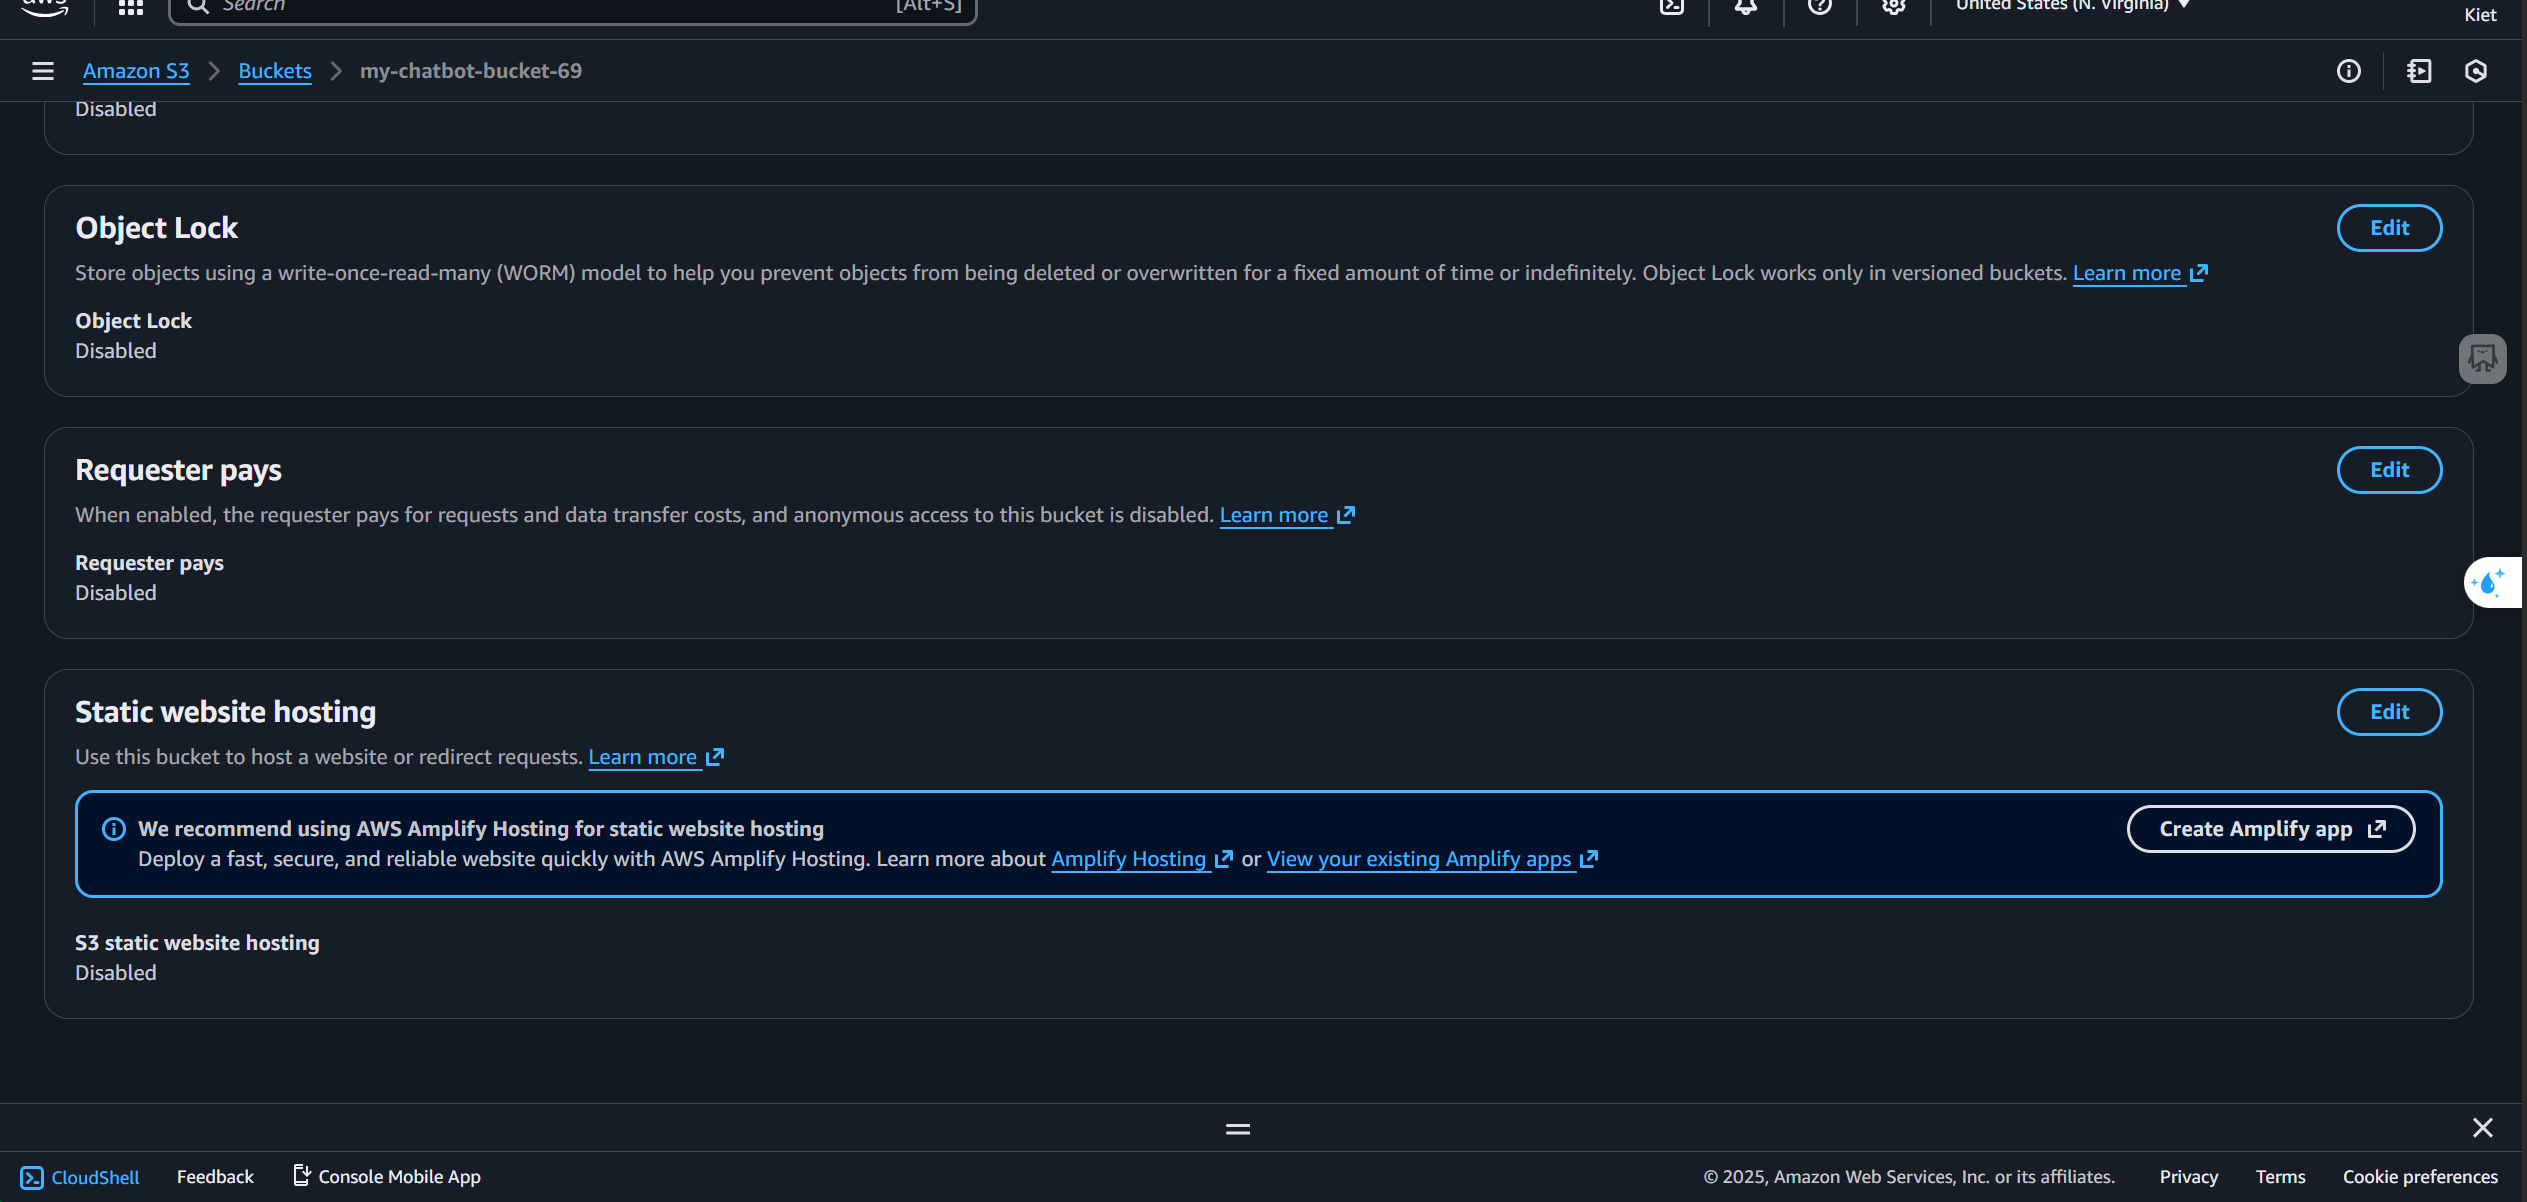
Go to the Properties tab
Click Edit under Static website hosting
Select Enable
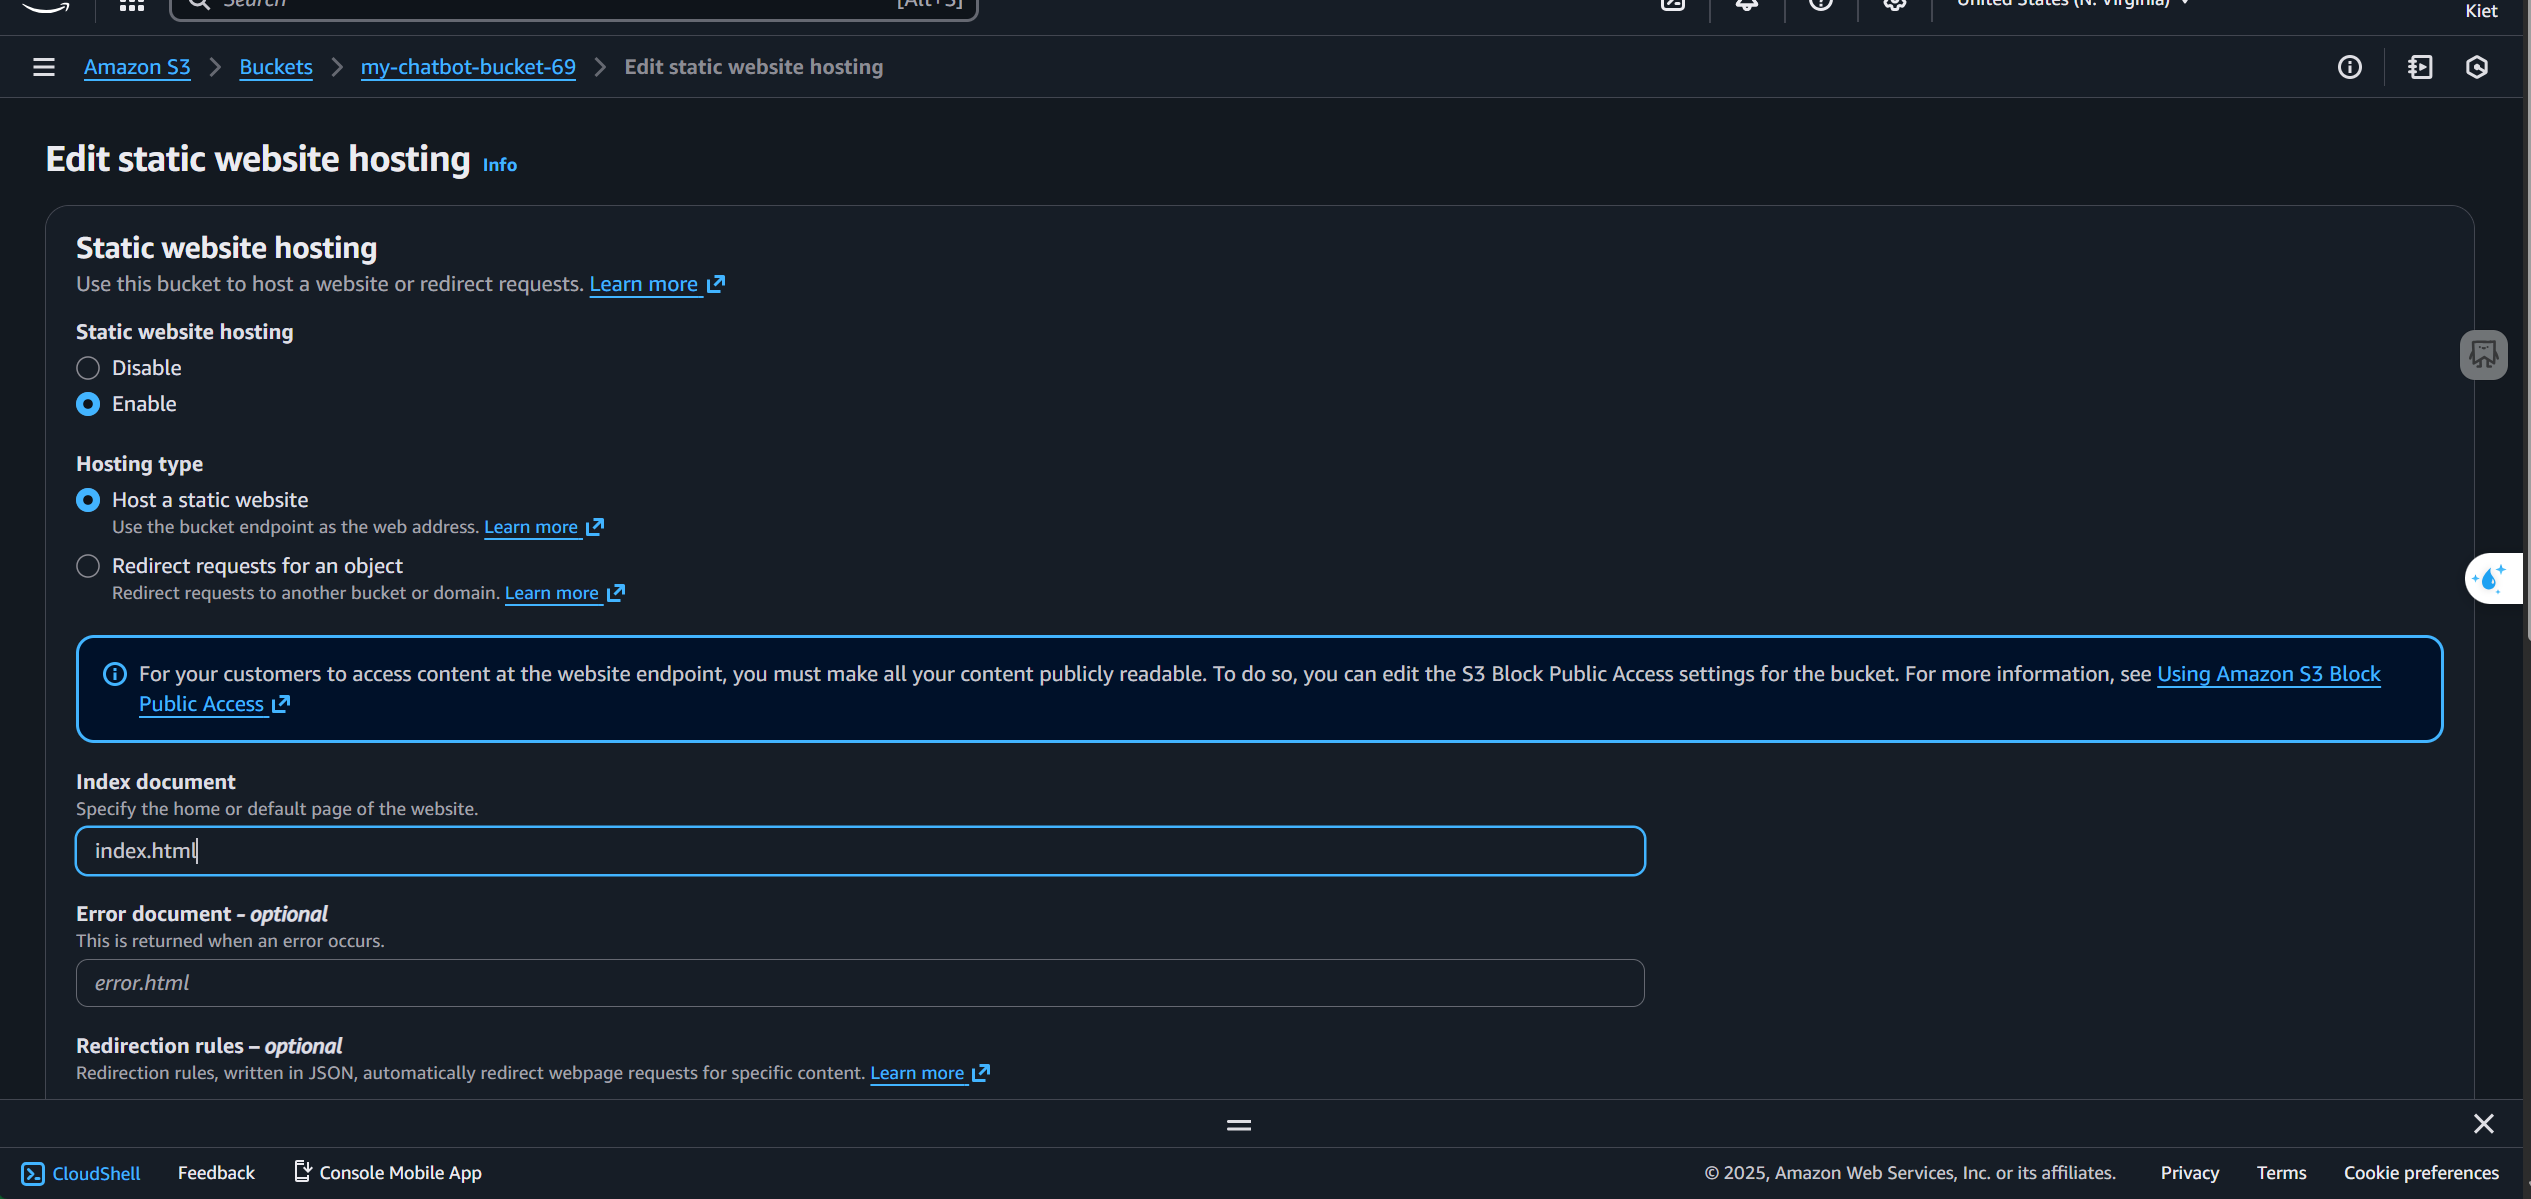
Click Save changes
Go to the Permissions tab → Edit Bucket policy

Paste the following policy (replace
your-bucket-namewith your actual bucket name):
{
  "Version": "2012-10-17",
  "Statement": [
    {
      "Sid": "PublicReadGetObject",
      "Effect": "Allow",
      "Principal": "*",
      "Action": "s3:GetObject",
      "Resource": "arn:aws:s3:::your-bucket-name/*"
    }
  ]
}
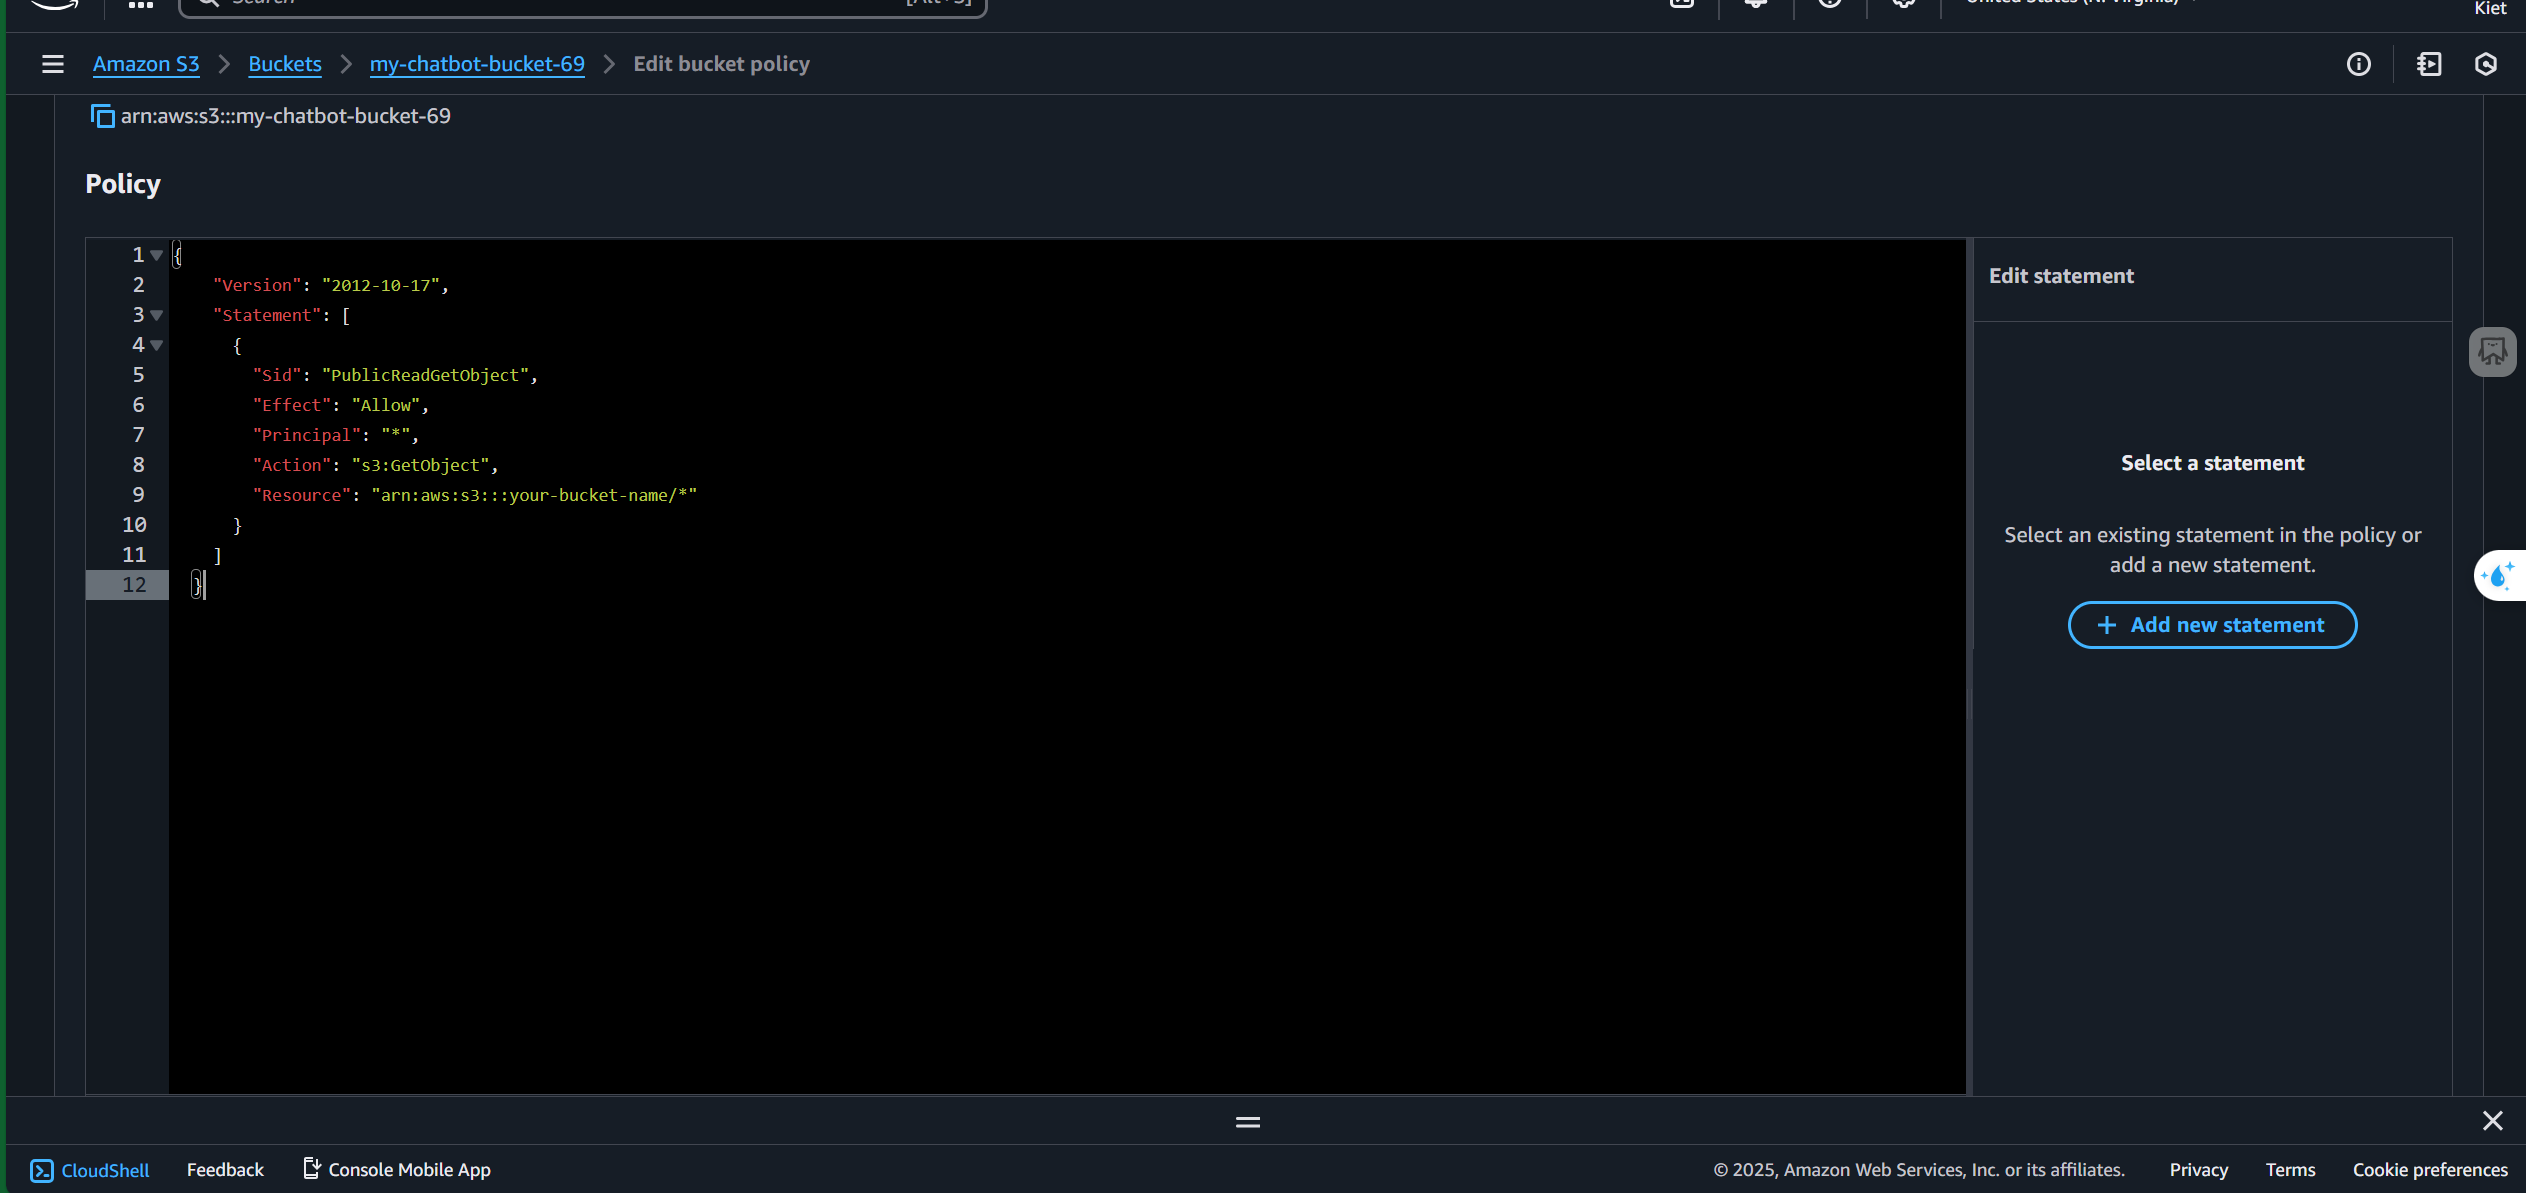
Click Save changes
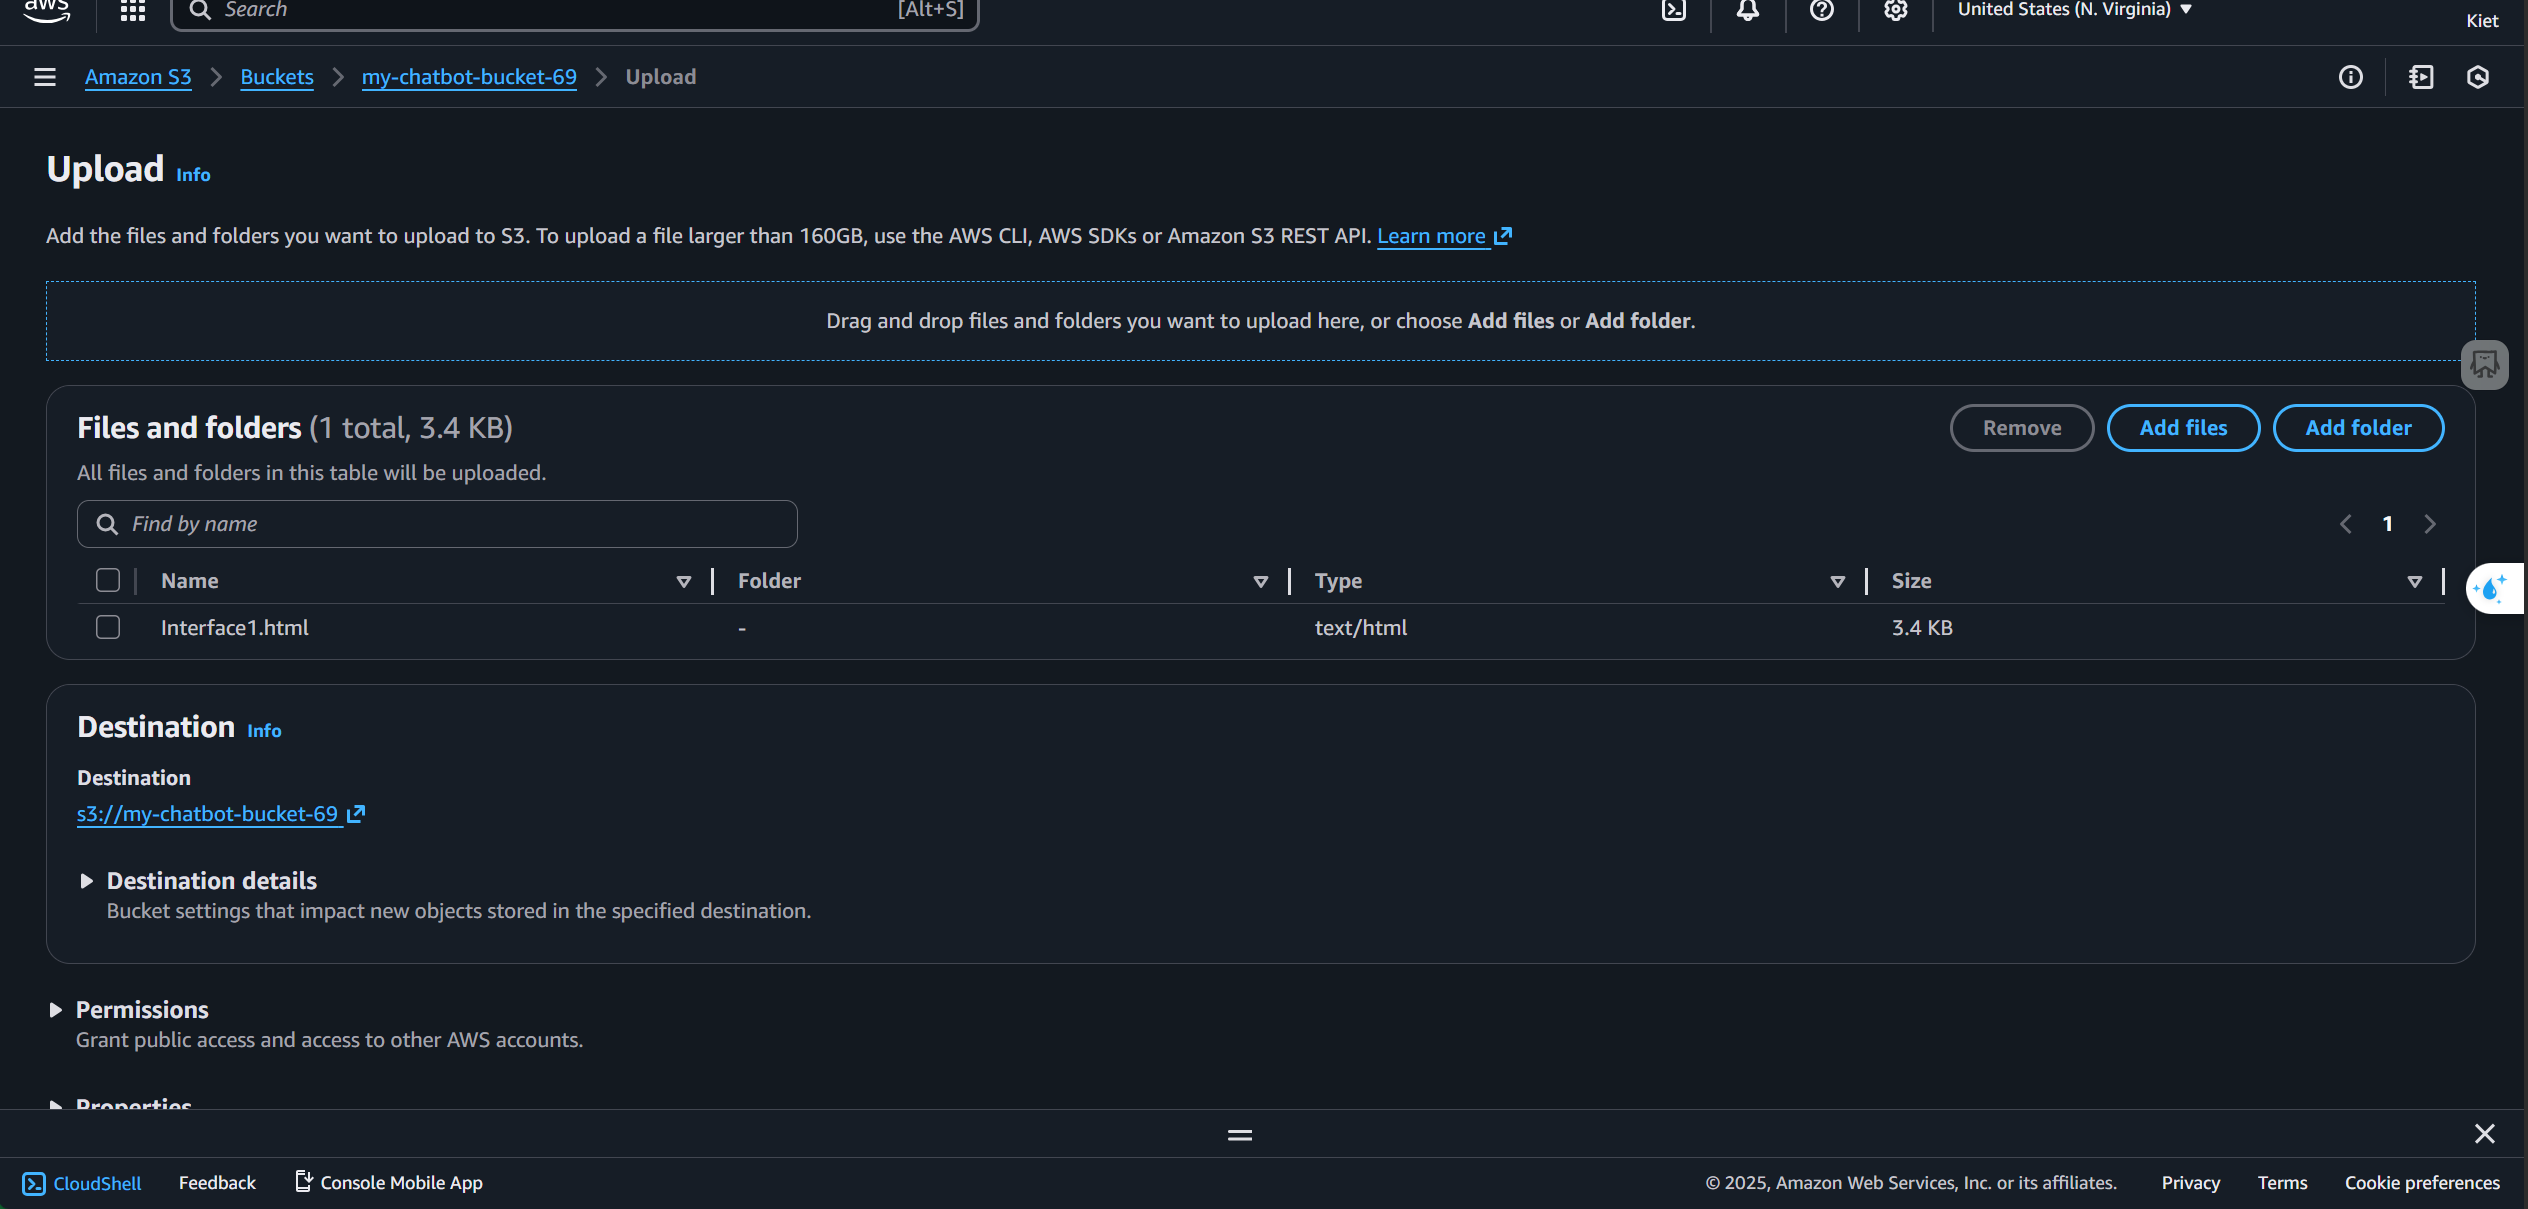
Go to the Objects tab and upload your HTML file
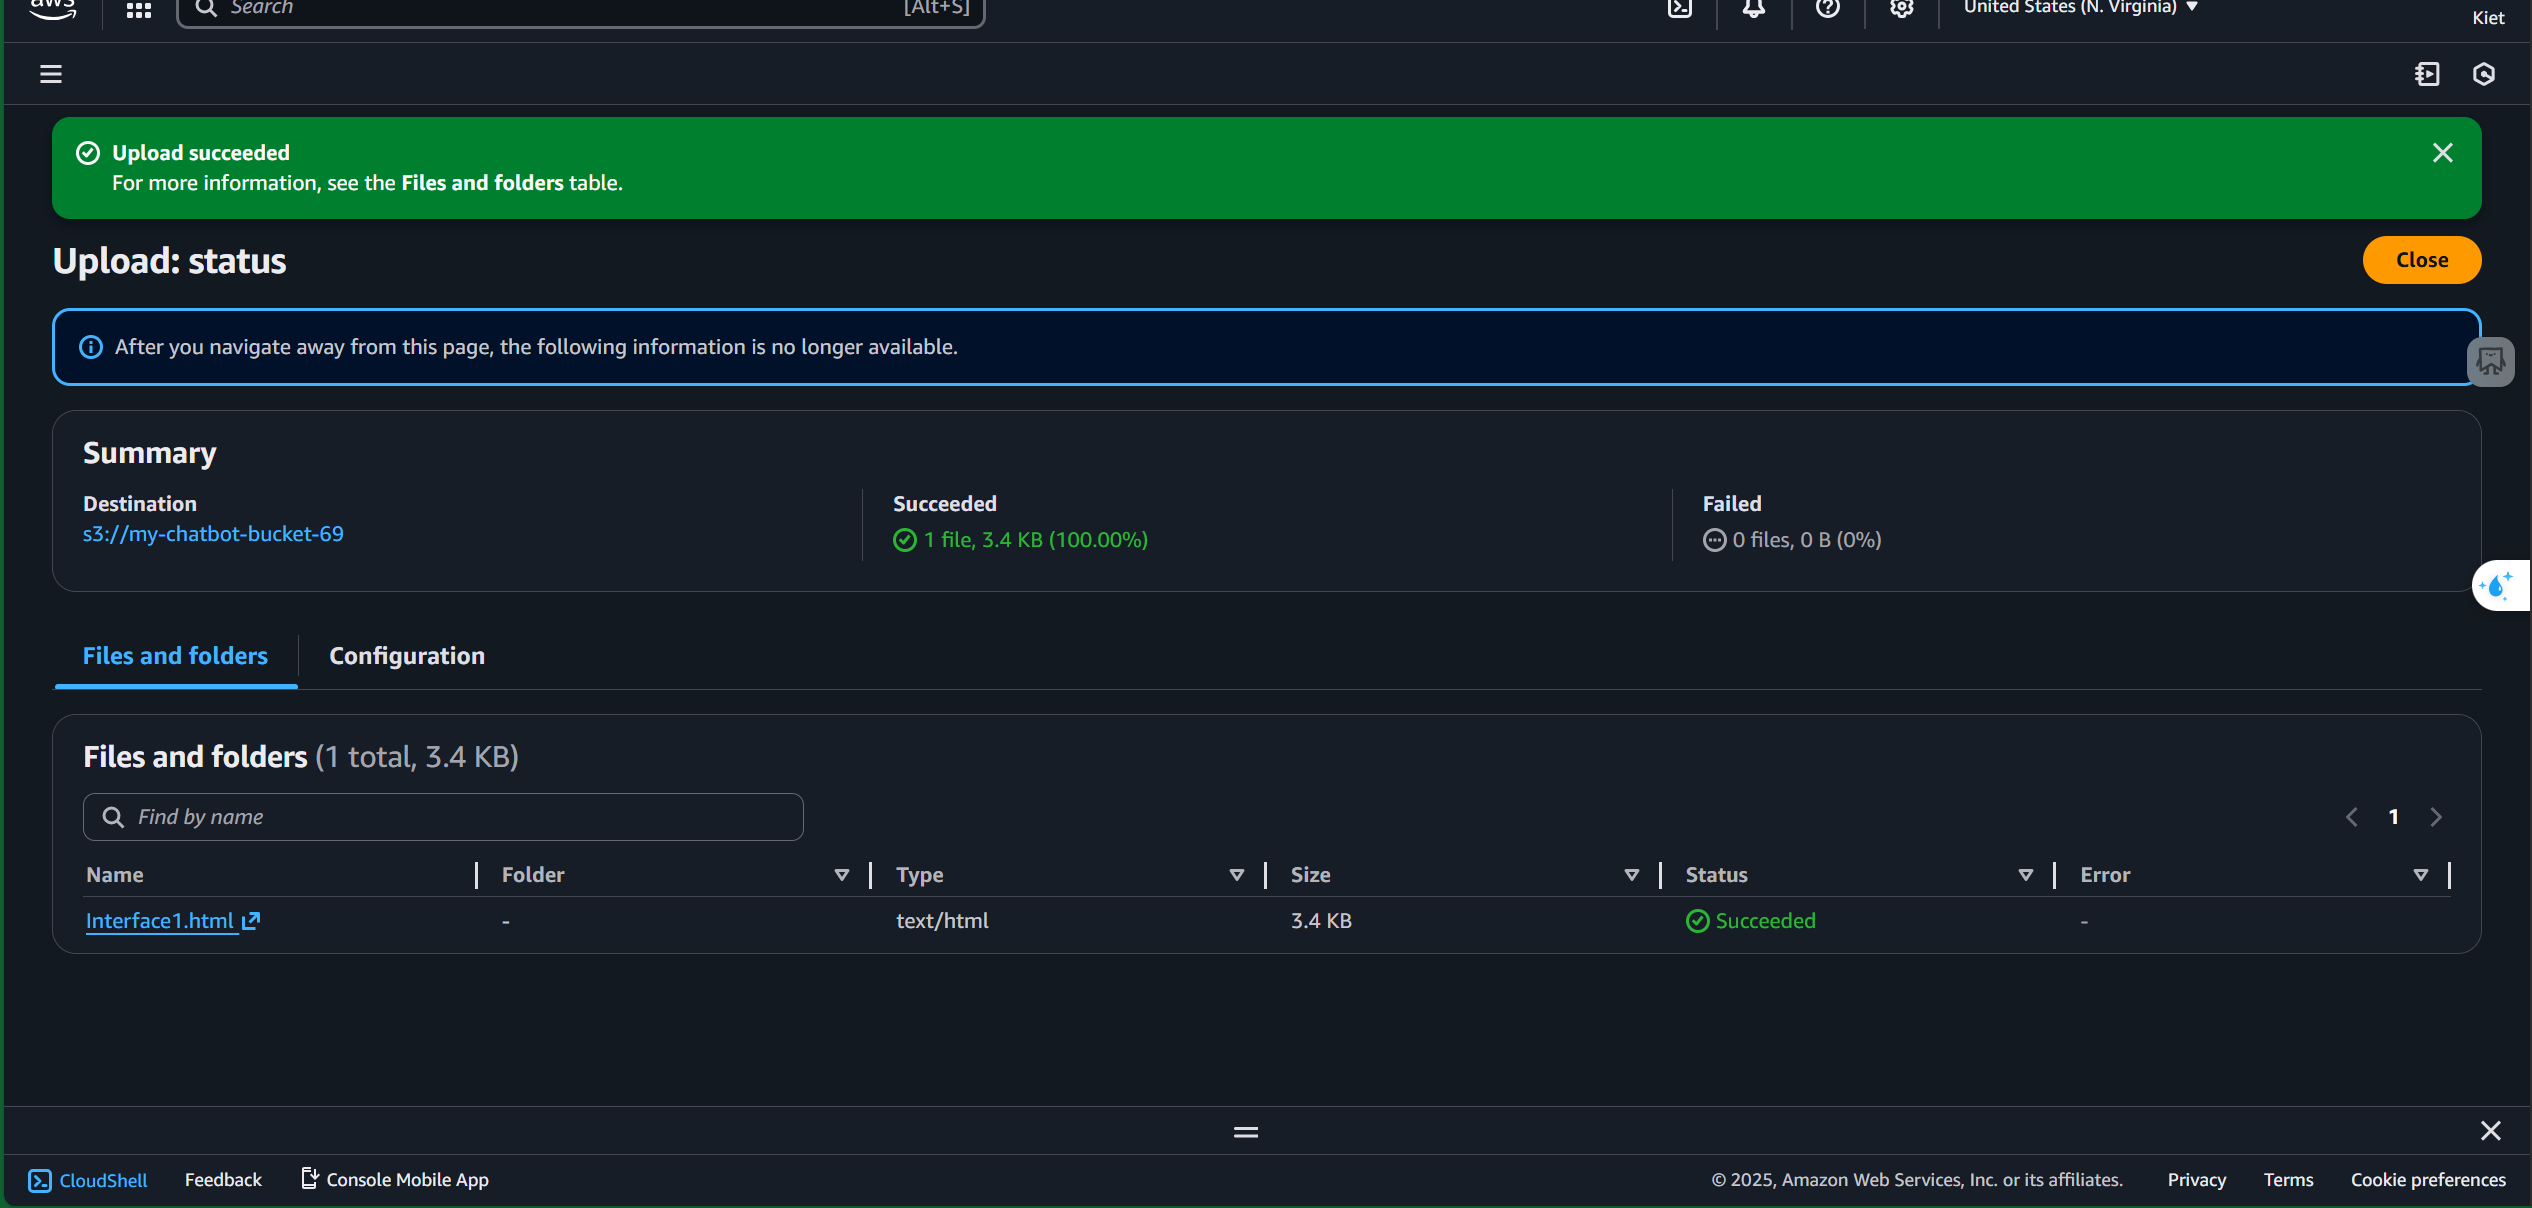
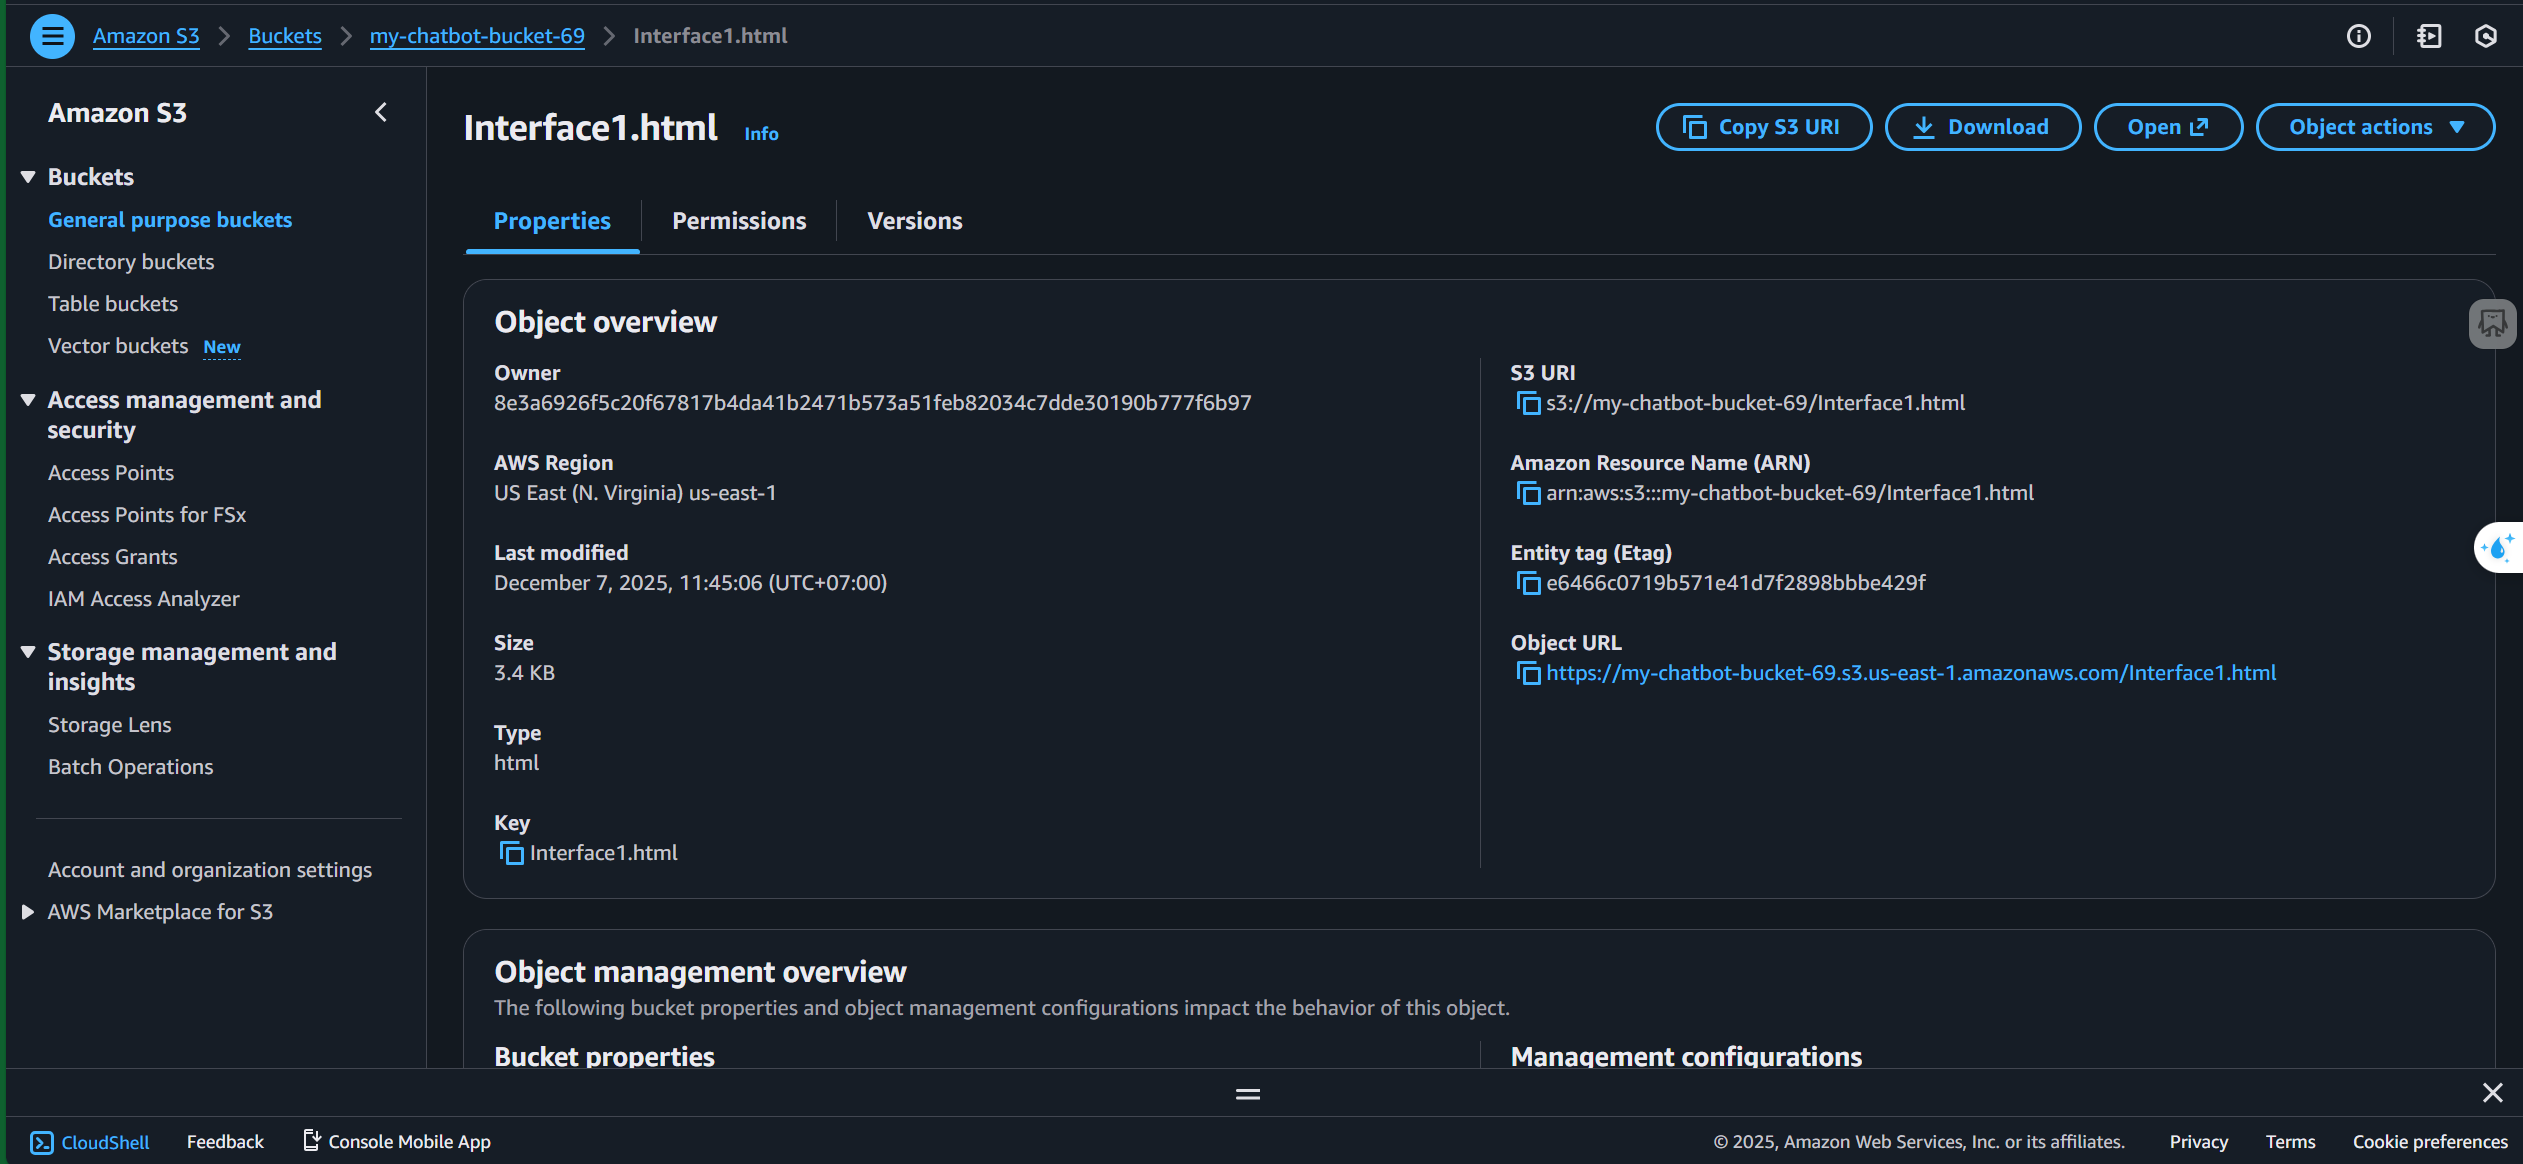
Click the Object URL to open your deployed HTML page
Deployment completed successfully